Chocolate Espresso Cookies

5_18 072

If you’ve been reading my blog for a while (over a year now, wow!) you know that I bring my dessert creations into work to share with my coworkers because no girl could (or should) eat 40 cookies all alone.  Based on coworker comments,  and how quickly they were devoured, these cookies could be the BEST dessert on my blog.  Even I couldn’t resist eating seconds and thirds of these cookies which is pretty unlike me.

5_18 071

The addition of espresso into these cookies adds a sophisticated compliment to the chocolate chips that is unexpected and interesting.  The espresso doesn’t add a coffee flavor but a sweet, caramel-esque depth that makes it impossible to eat just one.  Most people who tasted these cookies couldn’t identity espresso as an ingredient, but were very curious about what the “secret” to these cookies was.

Flavor aside, these cookies are a one bowl creation and that alone makes them desirable.  Rather than use my hand mixer I creamed the butter using a spoon and not only was it less messy (no sugar flying everywhere) but final texture of the cookies was more consistent.  If you have a stand mixer or a hand mixer and would rather use that, feel free, but I promise once you start mixing with a spoon there is no going back!5_18 074Chocolate Espresso Cookies

Yields about 40

2 sticks unsalted butter (softened)

3/4 cup brown sugar

3/4 cup white sugar

1 large egg + 1 yolk

2 teaspoons vanilla extract

2 1/4 cups flour

1 teaspoon baking soda

1 teaspoon salt

3 tablespoons instant espresso powder

1 cup milk chocolate chips

For this recipe you don’t want to pre-heat the oven first.  These cookies require refrigeration before they bake so we will turn the oven on later.

In a large bowl cream together the butter (this should be really soft if you are creaming with a spoon) and sugars until thoroughly combined. Add egg and yolk and cream until fluffy.  Then, add vanilla extract.

Sift in all the dry ingredient and continue to mix until combined. Then, fold in chocolate chips.

Prepare a baking sheet with parchment paper and scoop out heaping teaspoons.  I made 4 baking sheets, about 40 cookies.  Refrigerate the dough for 45 minutes.  Don’t skip this step! The cookies will spread too thinly otherwise.  After a half hour in the ‘fridge you can pre-heat the oven to 350 degrees.  You’ll want to be sure you have your oven racks in the upper third of the oven.

If you have no need for 40 cookies you can put some of the cold dough balls into a Ziploc bag and freeze them.  Then you can bake up just a few at a time when you want fresh hot cookies. Yum!

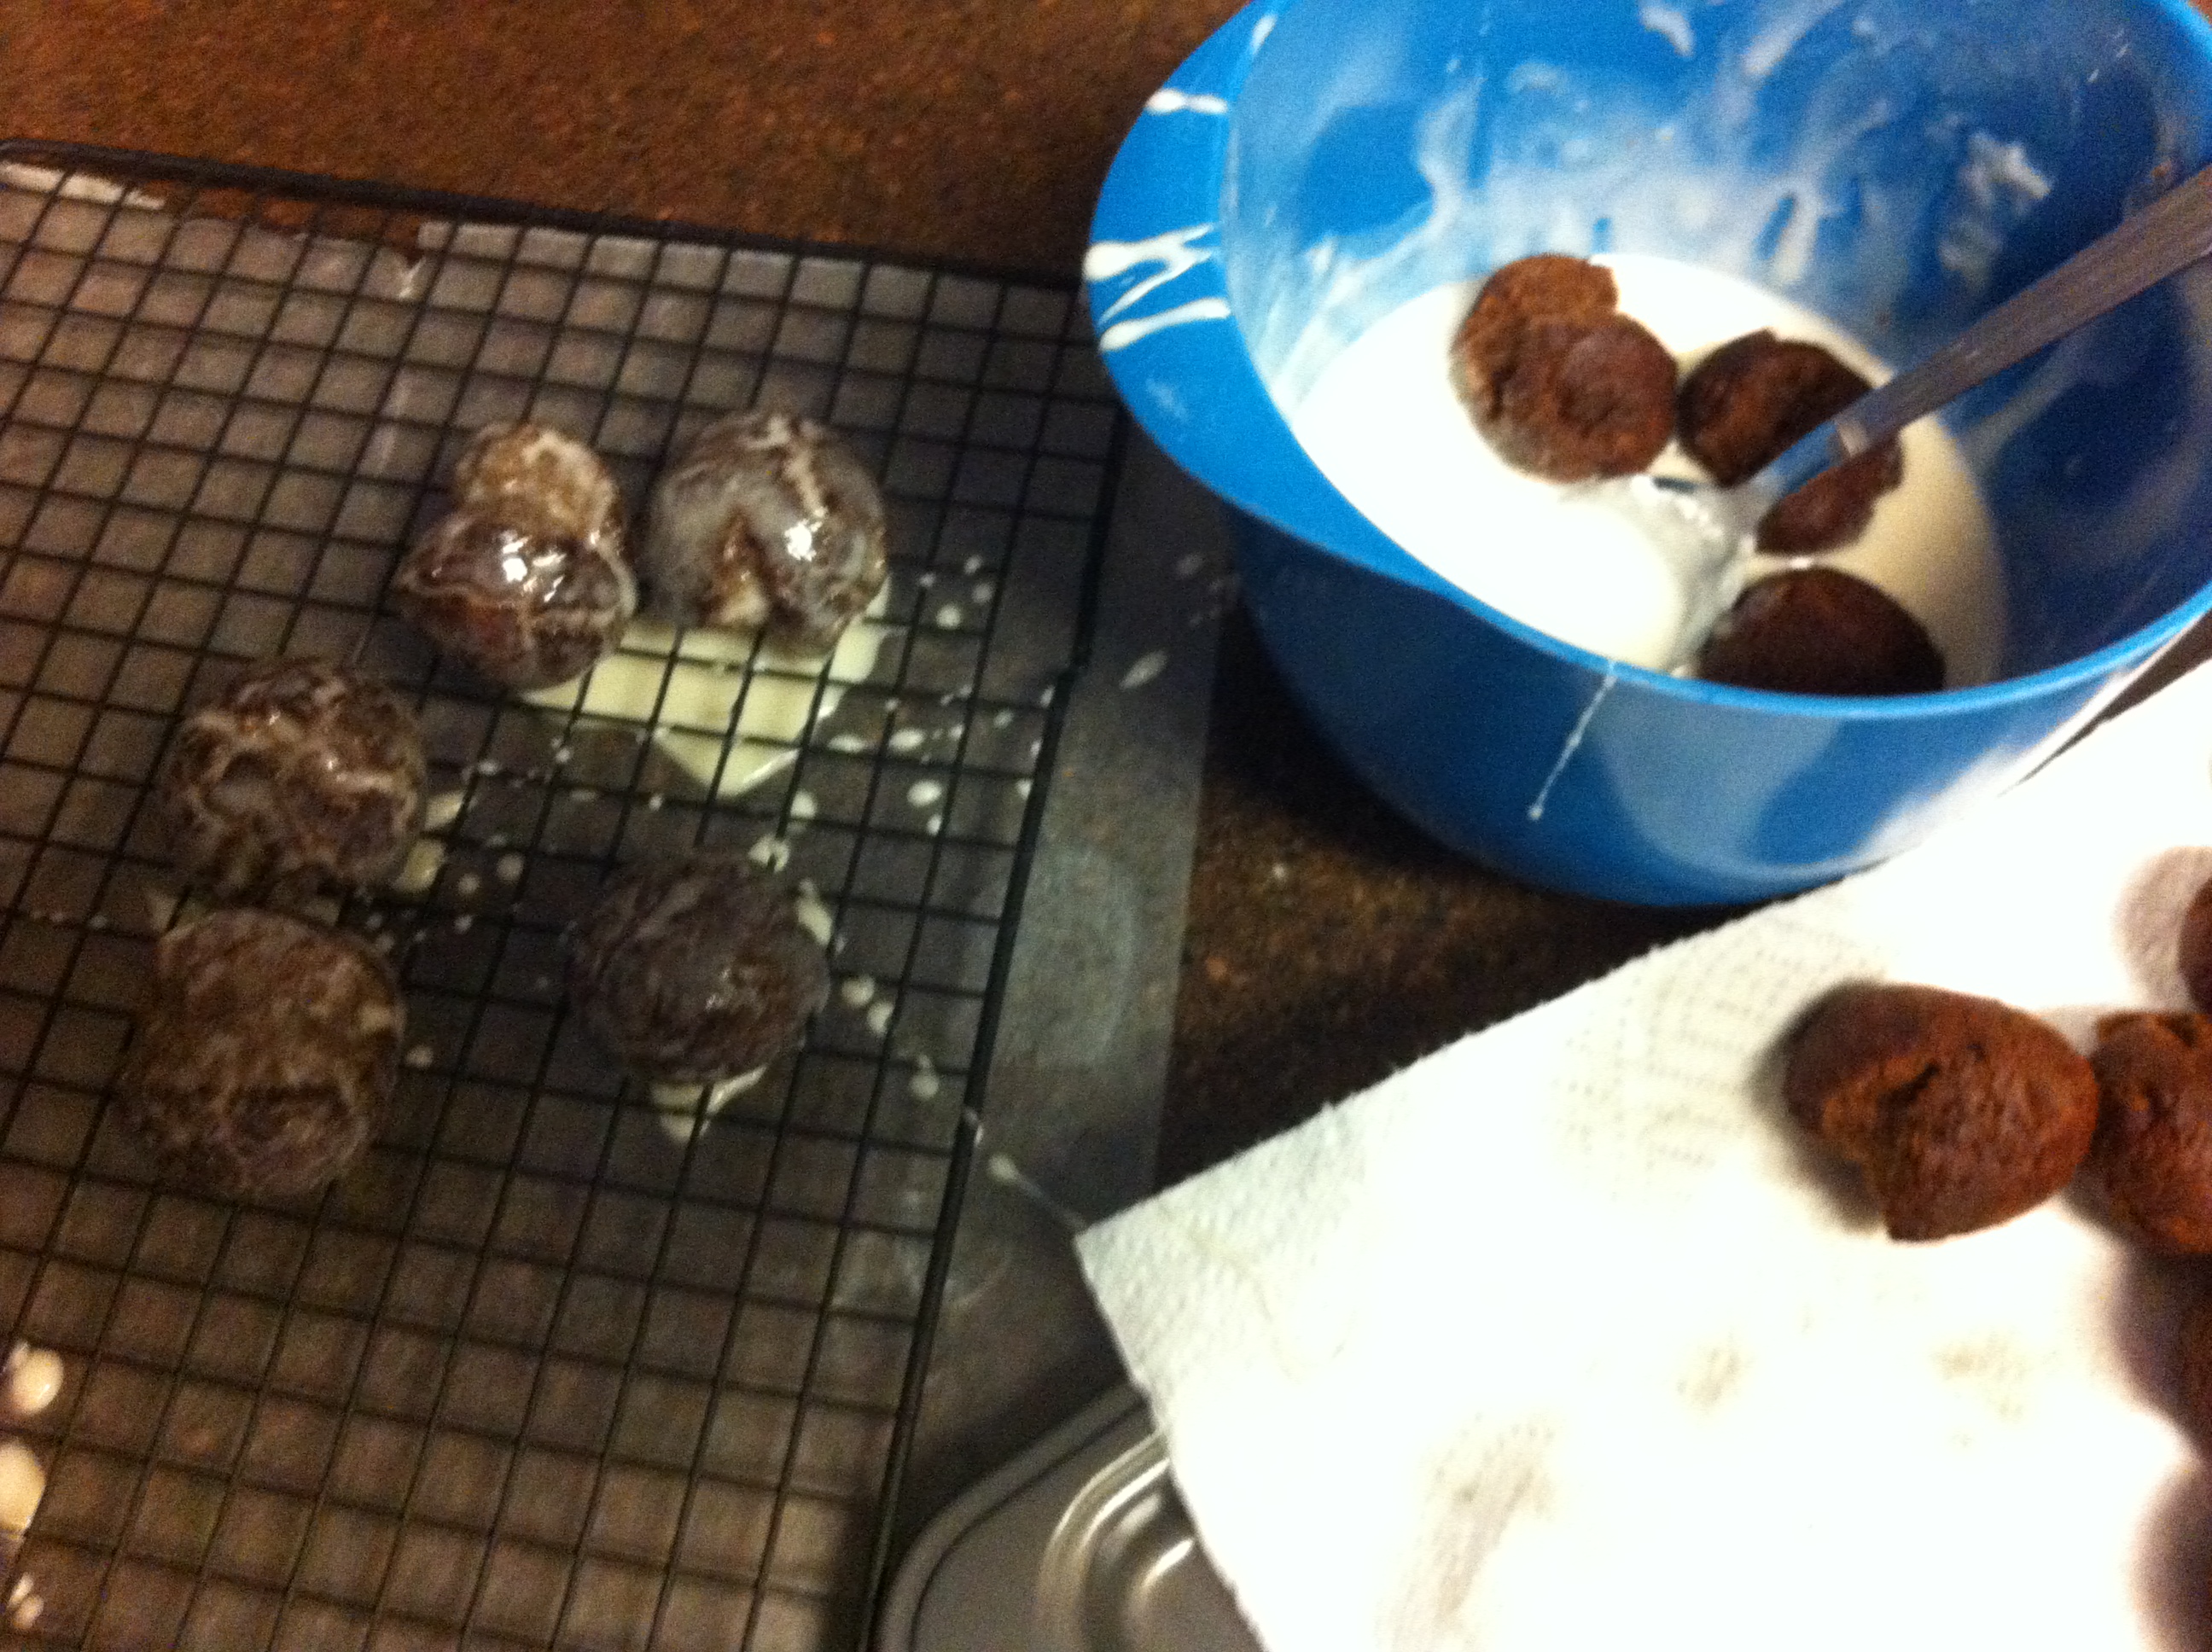
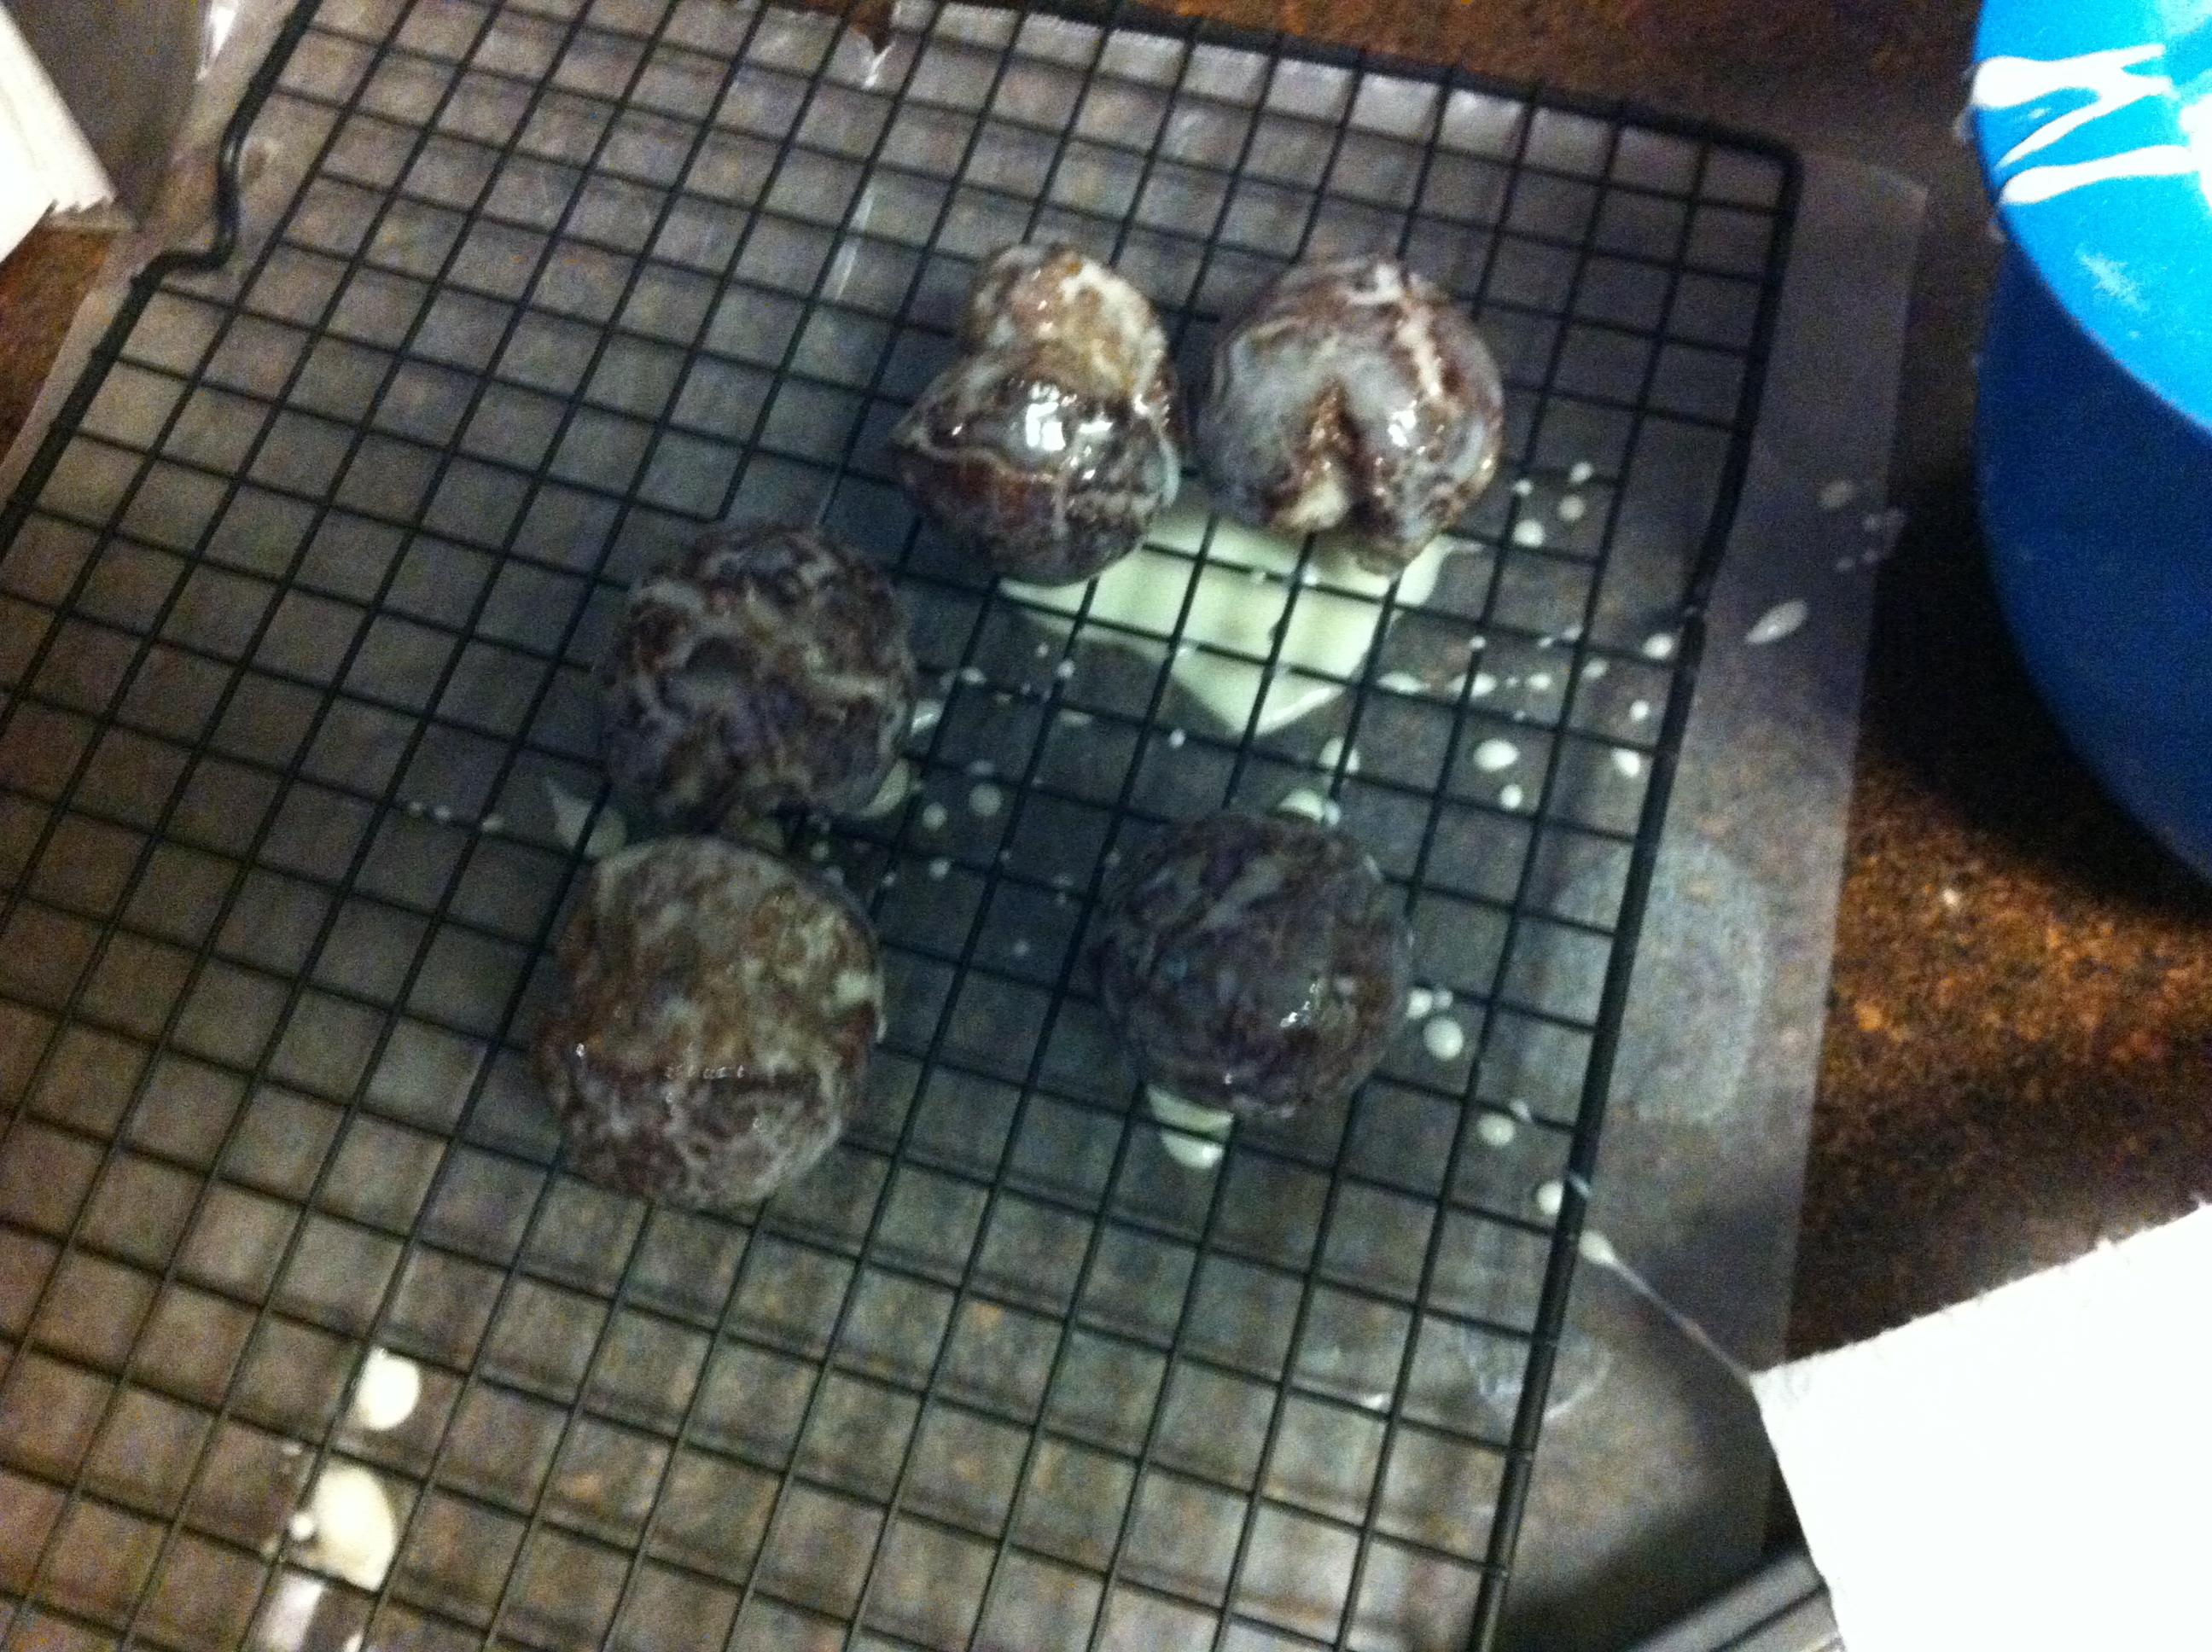
Once the oven is pre-heated bake the cookies for 12 minutes than immediately transfer to a wire rack.  I’m sure you know this but it’s important to take the cookies out of the oven while they still seem underdone since they harden considerably while cooling.

Store left over cookies (not that there will be any…) in an air tight container.

xx

5_18 073

Devil’s Food Hazelnut Crunch Birthday Cake

5_18 019

5_18 015

5_18 014A few weeks ago my family celebrated my little sister’s 22 birthday. Weeee happy birthday, Danielle!

As of late it’s been a Garafola tradition to celebrate birthdays at Benihana’s.  Between the crazy cocktails, the sake and the funny show the chef puts on, it’s always a blast.

Danielle allowed me the privilege of making her birthday cake.  I gave her a few options to choose from and not so surprisingly she choose the most chocolate-y of all: A devil’s food hazelnut crunch layer cake.  I wasn’t sure if I wanted to post this cake experience because I strive to post simple, easy to follow recipes on Sand, Sugar and Sun, but every once-in-a-while it’s nice to have an “impressive” recipe in your back pocket! This cake has quite a few steps, but all in all is not very difficult. You can complete several of the steps ahead for easier baking experience.  You can see the full recipe here, on Bon Appetit.

I began the cake process by making the hazelnut crunch.  This crunch was my favorite part of the cake. To keep the crunch crunchy, assemble the cake right before you serve it.

5_18 002

5_18 0055_18 007As I was baking I kept taste testing little bits and I’m surprised I had enough restraint not to cut myself a slice before Danielle’s party.

5_18 0095_18 0265_18 029What’s your go-to impressive dessert?

xx

Strawberry Apple Oatmeal Bake

4_19 003

It’s whopping 83 degrees today and I’m calling this the “first beach day of the season,” even though it is only Spring. In addition to beach season strawberry season is upon us and I couldn’t resist making a fruit inspired breakfast.  I eat breakfast every single day with out fail.  I honestly don’t know how far I would make it past my front door if I didn’t eat it.  Guys…It’s really the most important meal of the day.

I usually eat savory breakfasts with eggs or lox but every once-in-a-while I like to mix it up with something sweet.  This oatmeal bake is so much more than breakfast, though.  I need to come clean, I heated some up and I am eating a it right now with vanilla ice cream.  I also ate it for breakfast with yogurt.  You could also eat it with steamed milk.  Or you could enjoy it all on it’s own.  Do your thing, ya know?

4_19 006

Strawberry Apple Oatmeal Bake

Fruit Mixture:

3 granny smith apples, peeled and sliced

1 lb strawberries, cut in half

1 tablespoon cornstarch

1/2 teaspoon cinnamon

1/2 teaspoon nutmeg

1/4 teaspoon ground ginger

1/4 cup maple syrup

Oatmeal Mixture:

1 1/2 cup dry oatmeal

1/4 cup flour

1 teaspoon cinnamon

1/2 teaspoon nutmeg

1/8 teaspoon salt

3 tablespoons olive oil

3 tablespoons maple syrup

1 teaspoon vanilla extract

1 tablespoon water

Pre-heat oven to 350 degrees.

Begin by combining the fruit with the cornstarch, spices and maple syrup.  Toss to combine – be sure all cornstarch is dissolved.  Then pour into an 8 x 8 pan.

Stir together oats, flour, spices and salt.  Separately, whisk together the wet “oatmeal mixture” ingredients.  Then, combine the wet and dry.

Pour the oat mixture over the fruit and press down with a spoon.

Bake in the oven for about 50 minutes.

This is incredibly fragrant as it bakes from all the spices.

Serve immediately from the oven while it is hot over milk, yogurt or ice cream.

You can store this in an airtight container in the ‘fridge but be sure to re-heat before you eat! It’s so yummy when the fruit is warm and syrupy.

xx

4_19 008


Buffalo Shrimp Quinoa Salad

4_17 106

Remember when I made those quinoa cakes and I declared my full blown obsession with quinoa? Well, the obsession continues.

Lately, it seems like life has been playing in fast forward so I am bringing you an easy and quick to prepare quinoa salad that can be served warm or cold.  Super simple and easily modified to fit “what’s in your fridge.”  I feel like that should be a reality show: What’s In Your Fridge?! It could show peoples’ sad refrigerators (mine included) containing nothing but a half eaten yogurt and cans of seltzer.

Anyway.

If you like buffalo flavor you’re going to like this salad.  Initially, I wanted to make it with shredded chicken, but I forgot to buy it when I went grocery shopping.  Oops!  I prefer shrimp to chicken anyway so it may have been a happy accident.

4_17 108

Buffalo Quinoa Salad

4 cups cooked quinoa (start with 1 C dry to yield this)

1 cup shredded purple cabbage

Approx 3 green onions, chopped

1/3 cup buffalo sauce (I used Franks Buffalo)

1/3 cup olive oil

About 10 shrimp or 1 cup shredded chicken, cooked

Salt/pepper

Feta for topping

Avocado for topping

Begin by making the buffalo dressing.  Whisk together the olive oil and buffalo sauce and season with fresh black pepper. Once dressing is prepared set aside.

Fluff up your quinoa and toss with cabbage and chopped green onion.  If you have other veggies on hand (carrots, celery) go on and add those in, too! The more veggies the better.

Then, pour dressing over quinoa/veggies and combine. Taste a little bit and re-season with salt/pepper to taste.

Serve quinoa salad with protein of your choice, topped with feta (or bleu cheese!) and avocado.

Easy, peasy and delicious!

xx

4_17 109

Oh by the way…Baby P says, “Hi”

4_17 009


Life, Lately. March Edition!

My first time having Shabu Shabu.

My first time having Shabu Shabu.

2_26 010

New-found obsession with french bread pizza.

3_12 019

Weekend glam prep.

3_21 003

Spicy avocado toast- delish!

Shamrock shake pudding shots I made for St Pattys Day.

Shamrock shake pudding shots I made for St Pattys Day.

3_21 053

Green beer fun.

What have you been up to?

xx

Quinoa Cakes

3_12 058

I try to eat somewhat healthfully most of the time.  That being said I will never be the girl to post a recipe for kale salad and try to convince you how delicious it is.  “Healthy” is not usually synonymous with tasty.  And I get that.  Enter: quinoa.

Quinoa is a super healthy, super versatile food (it’s technically a seed) that can adapt the flavor of just about anything.  And it has a very unique texture that I’ve grown to love.  Lately, I’ve been eating tons of quinoa, but it never gets old! I can have it hot for breakfast with fruit and maple syrup.  I can have it cold with feta and olives as a side.  OR I can fry it up into deliciously cheesy fritters and still declare it health food because, hey, it’s quinoa.

3_12 060

Cheesy Quinoa Cakes

2 cups cooked quinoa (I used left-over cold quinoa)

2/3 cup grated cheese of your liking (I used Gouda!)

1/2 cup chopped onion

1 egg

3 tablespoons flour

1 tablespoon garlic powder

salt/black pepper

Vegetable oil for frying

Add all ingredients in a bowl, except the oil, and stir to combine. Heat some oil in a frying pan on medium low.

Once the oil is hot (you can test it with a small bit of quinoa mixture) take a tablespoon and spoon a generous heap into the pan.  Quickly use your spoon to press and form the spoonful into a patty.  Do this two or three times without crowding the pan.  This quinoa mixture is too loose to form with your hands.  Don’t stress about perfectly forming the quinoa cakes in the frying pan.  Once the cheese begins to melt it acts like (yummy) glue that holds it all together.

Cook the quinoa cakes 3-5 minutes per side. Allow it to get brown and crispy! Remove to a paper towel on a plate.  Repeat with remaining mixture.

Serve while they are HOT, if you can resist not eating every single quinoa cake the second you remove it from the frying pan. I served mine with a lemon, cayenne, yogurt dip. Literally containing lemon juice, greek yogurt and cayenne pepper.

xx

3_12 0643_12 0723_12 076

Garlic Fries

2_26 086

As promised…I have re-made and properly photographed the garlic oven fries I was raving about in my book club post! I just want to reiterate how yummy theses are.  And let’s go ahead and call them healthy, too, since they are oven baked.

I’m not gonna lie this was dinner one night last week.  These are so easy to make that you could quickly make one or two potatoes worth, rather than the full recipe I’ll post below.  That’s what I did last time I made these.  Oven fries really don’t keep well so feel free to adjust this according to how many or few people you’re serving. Don’t get caught up on trying to recalculate the ingredient measurements.  They can all be “eye-balled” and this is nearly impossible to mess up.

2_26 074Start by cutting the fries.  Leave the skin on! It’s tastier and easier.

2_26 078Prep the garlicky goodness.

2_26 083

Garlic Oven Fries adapted from here

Non-stick vegetable oil spray

2 1/4 lbs russet potatoes – cut into batons, skin on

2.5 tablespoons vegetable oil

4 garlic cloved, minced

2 tablespoons parsley, chopped

1/2 tablespoon olive oil (I used truffle oil here- super yum)

salt & pepper

Preheat oven to 450 degrees and spray a large baking sheet with non-stick spray.

Toss the potatoes with 2.5 tablespoons oil and generously salt and pepper.

Spread the potatoes onto the baking sheet, making sure they all have a side flat down.  Add potatoes to top rack of oven and LEAVE ALONE for 30 minutes.  Really resist the urge to open the oven and poke them around.  Leaving them alone is the key to crispiness.

While the potatoes are cooking combine the garlic, olive (or truffle) oil and parsley is a small down.  Mix it all up and set aside.

After 30 minutes turn the oven up to 500 degrees.  Use a spatula to gently turn some of the fries and add back to oven.  Leave for about 20 additional minutes or until fries get browned and dark in some spots.  Once fries are crispy to your approval remove from oven and quickly toss with garlic oil.  Serve immediately.

These are so good you won’t even want ketchup.

xx

2_26 089

Glazed Chocolate Donuts

2_26 056

In usual Sand Sugar and Sun fashion I should be starting this blog post with a photo relating to the recipe I am blogging.  However, the few photos I took are quite honestly not that great. So ‘sorry’ in advance.  The above photo was taken last Thursday which was National Margarita Day (a holiday I can really get behind!)

This past Sunday I attended an Oscar viewing at my friends house and I have been craving Dunkin’ Donuts so I decided to whip up some donut holes.

I want to just begin by saying I am no stranger to frying.  Deep frying, pan frying….I consider myself comfortable doing these things.  Also, I have NEVER used a thermometer when frying.  Not even when deep frying and not even when a recipe calls for it.  And I’ve made many a successful beignet, chicken cutlet, squash blossom, you name it, to prove I am fry competent.

Last Sunday when I made these donuts, though, it wasn’t exactly smooth sailing.  The oil got so freaking hot (smoking- that’s never good!) that it burnt and even now, on Tuesday night, my entire apartment smells like burnt oil. I have had all the windows open and several candles burning, but still the smell lingers.  In a bad way.  And then in an act of desperation I sprayed CK One (summer edition!) all over the dang place and really….that wasn’t a good idea.

I was able to toss the oil and start fresh before I began frying, so all ending up being fine. The donuts were utterly delicious and consumed outside of my stinky  apartment.

2_26 062

Glazed Chocolate Donut Holes

2.5 C flour

1 C unsweetened cocoa powder

2 teaspoons baking powder

1/2 teaspoon baking soda

1/4 teaspoon salt

3/4 C buttermilk

1/2 stick unsalted butter, melted

2 teaspoons vanilla

2 eggs

vegetable oil for frying

Glaze

2.5 C powdered sugar

4-5 tablespoons milk

1/4 tsp vanilla

In a large bowl combine flour, cocoa powder, baking soda, baking powder and salt.  If the mixture is very lumpy quickly sift it.

In separate bowl whisk together buttermilk, eggs, sugar, vanilla and cooled melted butter.  Add the wet ingredients to the dry and stir until a dough forms.

Roll dough into small balls (they double in size when added to the oil – you want the finished fried product to be smaller than a golf ball).

In a large pot heat oil over medium low heat.  If you are using a thermometer, bring up to 350 F.  Other wise you are looking for the oil to begin glistening on the bottom.  It should look like little waves are forming under the oil.  At this point turn the oil down, not off, and add a small scrap of dough to test.  If the dough fries at a slow calm pace you’re ready to being frying.  Otherwise, cool or heat oil accordingly.  Just remember oil heats incredibly fast, so turn it down as the ideal temp is reached.

Add the dough balls 2-3 at a time and flip a few times for 2-3 minutes.  Transfer to a plate with paper towels to cool.

Once all donuts are fried combine all glaze ingredients in medium bowl.  You can add more milk as needed to create a thin glaze.  Drop a few donuts at a time in the glaze then transfer to rack to set.

xx enjoy

2_26 063


Orange Rosemary Cornbread

2_9 012

Remember when I posted about brown butter? My excitement for the whole thing was really real. So when I saw this recipe for corn bread, and then saw that it called for brown butter, I IMMEDIATELY went to the grocery store to get all the ingredients.  And then here we are.

I sort of consider corn bread a dessert.  Before you click out of the browser and declare me lame let’s remember that I really don’t like sweet desserts and this specific corn bread is really buttery and cakey.  So if anything, let’s call it a savory dessert.  Or a savory sort of sweet eat 3x a day kind of snack.

In case you’re unaware, which would be near impossible, there is a snow storm named after a cartoon fish happening in NY.  This morning my Dad sent me 7 or so videos of the snow and I felt like he was kind of bragging.  Even though he was probably video-complaining. There also happens to be a snow storm up in Big Bear, one of the mountain areas here in CA.  When I heard about that I was over the moon excited because I can feasibly go play in that snow.  But no.  There happens to be a crazed ex-police officer on the loose in freakin’ Big Bear of all places.  So no snow.  Not for me, not now.  Let’s just eat corn bread instead.

2_9 024


Orange Rosemary Cornbread

adapted from Joy the Baker

1/2 stick plus 1 tablespoon unsalted butter

2 eggs

1 cup buttermilk

2 tablespoons fresh orange juice

1 cup all purpose flour

1 cup corn meal (I used medium grind)

1 teaspoon salt

3/4 teaspoon baking soda

1/3 cup sugar

1 tablespoon orange zest

1 tablespoon finely chopped rosemary

Pre-heat oven to 350 degrees.

Begin by greasing and flouring your pan, then lining with parchment paper.  I used a round cake pan or you can use an 8 x 8 in square pan.

Use a small saucepan to brown the butter oven medium-low heat.  You’ll know the butter is finished browning when the crackling stops.  When it’s finished set aside in a small bowl to cool.

In a medium bowl whisk together eggs, milk, juice and butter.

In a large bowl combine sugar, zest and chopped rosemary.  Make sure this is well blended.  Then, add flour, cornmeal, salt and baking soda. Stir to combine.

Add the wet ingredient to the dry and stir to combine.  Isn’t this recipe awesome, not calling for electric mixers?!

Pour batter into pan and bake 20-30 minutes or until a toothpick comes out clean.

Serve warm with butter and jam.  I enjoyed mine with apricot.

xx

2_9 027

Book Club Fun

2_7 006

A few months ago I joined a book club.  Admittedly, it took a little convincing from my friends to join.  In retrospect I’m not really sure why that was…because week night wine, cheese and crackers, reading…it’s really right up my alley.  This month was my turn to host and I was incredibly excited about the opportunity to entertain.  I was also super excited to discuss our book Gone Girl.  Have you heard of it? Seriously, even if you aren’t in a cool book club like me, make time for this book.  Or heck start a book club just to discuss this book.  You’ll need some one to talk to after you read it.

blog-gone-girl-book-jacket

Okay I’m going to interrupt myself here – The 5 Year Engagement is on in the background as I type this….and the part where they are trying to pronounce the professor’s dog’s name? Gets me every time.

For book club I decided on buffalo chicken bites and garlic oven fries.  I planned to post both recipes but the fries got eaten up so quickly I didn’t get a chance to get any photos!  They were really yummy (sorry, don’t mean to rub it in).  I’ll absolutely be making them again in the very near future, even if it’s just for myself, and I will be sure to properly photo and blog them.  In the mean time I’ll tell you about these awesome buffalo chicken bites.

I’m not much into bar food unless it’s a french fry covered in cheese or a boneless wing.  If it has a bone inside it is really NOT the same.  I’m a total girl for saying that and I don’t care.  I’ve tried almost every brand of the buffalo bite that you can cook at home (Tyson, TGIF) and inevitably they become very hard and un-appitizing when baked up at home. This recipe is the perfect solution and is almost as easy as heating up the frozen ones.  Also, my book club was pretty impressed.  It’s a crowd pleaser.

Buffalo Chicken Bites

2 tablespoons vegetable oil

4 tablespoons unsalted butter

1/3 C Hot Sauce (I used Frank’s Buffalo Style)

1 lb ground chicken

1 large egg

1 celery stalk, minced

3/4 C plain bread crumbs

1 teaspoon salt

Pre-heat the oven to 450 and coat the bottom of a baking dish with the vegetable oil.

In a saucepan combine the butter and hot sauce over low heat, whisking until the butter is completely melted.  Remove from heat and allow to cool for about 5 minutes.

In a bowl combine all the ingredients and mix together (use your hands, it’s okay).  Then, roll into little golf ball size balls and place into baking dish. Make sure they are all touching in the pan.

Roast in oven for 20-30 minutes or until they are firm and cooked through.

Allow the balls to cool for about five minutes in the pan before serving.  I served mine with ranch and celery.  And lots of wine.

xx

2_7 010